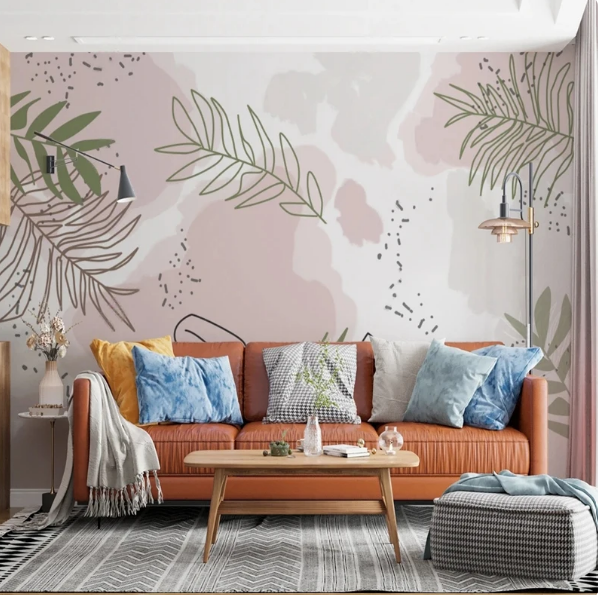
How To Install Your 3D Mural Wallpaper
Share
3D mural wallpaper can transform any room, adding depth, dimension, and a stunning visual impact. While the installation process may seem daunting, following these step-by-step instructions can help you achieve a professional-looking result. Here’s a guide on how to install a 3D mural wallpaper:
Materials Needed
- 3D mural wallpaper
- Wallpaper paste or adhesive (if not self-adhesive)
- Wallpaper smoothing tool or brush
- Utility knife or sharp blade
- Measuring tape
- Pencil
- Level
- Drop cloth or old sheets
- Sponge and bucket of water
- Step ladder (if needed)

Preparation
-
Clear the Area: Remove any furniture, decorations, and obstacles from the area where you will be working. Lay down a drop cloth to protect your floor.
-
Prepare the Wall: Ensure the wall is clean, dry, and smooth. Remove any old wallpaper and fill in any holes or cracks. Sand the surface if necessary to create a smooth base.
-
Measure the Wall: Measure the height and width of the wall to ensure your 3D mural wallpaper fits perfectly. Mark the center of the wall with a pencil and use a level to draw a straight vertical line. This line will help you align the first panel of wallpaper.

Installation Steps
-
Cut the Panels: If your 3D mural wallpaper comes in separate panels, lay them out on the floor in the correct order. Cut the panels to the height of your wall, leaving a few extra inches at the top and bottom for trimming.
-
Apply Adhesive: If you are using non-self-adhesive wallpaper, apply wallpaper paste to the back of the first panel using a brush or roller. Follow the manufacturer’s instructions for the recommended paste and application method.
-
Align the First Panel: Start from the center line you drew earlier. Position the top of the first panel at the top of the wall, allowing a small overhang. Align the edge of the panel with the vertical line and gently press it against the wall. Smooth out any air bubbles or wrinkles using a wallpaper smoothing tool or brush.
-
Smooth the Panel: Starting from the center, work your way out to the edges to ensure the panel adheres smoothly to the wall. Use a damp sponge to wipe away any excess paste.
-
Trim Excess Wallpaper: Use a utility knife to trim the excess wallpaper at the top and bottom of the panel. Be sure to press firmly to get a clean cut.
-
Continue with Remaining Panels: Apply the next panel, aligning it carefully with the previous one to ensure the pattern matches seamlessly. Repeat the process of applying adhesive, smoothing, and trimming for each panel until the entire mural is installed.
-
Final Touches: Once all panels are in place, give the wallpaper a final smooth with the smoothing tool to ensure it is properly adhered and free of bubbles. Clean up any excess paste with a damp sponge.
Tips for a Perfect Installation
- Take Your Time: Patience is key to achieving a perfect finish. Don’t rush the process, especially when aligning the panels.
- Use a Partner: Having an extra set of hands can make the installation process easier and more efficient.
- Check for Air Bubbles: Regularly check for air bubbles as you smooth each panel. Use the smoothing tool to push them out toward the edges.
- Maintain Consistency: Ensure that each panel is aligned correctly to maintain the continuity of the 3D effect.
Enjoy Your New 3D Mural
With the installation complete, step back and admire your work. A 3D mural wallpaper can dramatically enhance the look and feel of any room, providing a unique and immersive experience. If you're looking for high-quality, eco-friendly 3D mural wallpapers, consider exploring the selection at Noboringwall.com. Their range of designs and commitment to sustainability ensure you can find the perfect mural to elevate your space.
